The GRE (Graduate Record Examinations) is an essential step for those looking to pursue a graduate degree and is often a gateway to your educational dreams. With a structured approach to studying, you can conquer this significant challenge with confidence. However, an equally critical step is the registration process. This detailed guide walks you through the registration for the GRE examination, equipping you with all the knowledge you need to sign up for the test.
Whether you’re new to the process or looking for a fresh approach, employing a step-by-step process can transform what may seem like a daunting task into a series of manageable steps. Below, you’ll find a methodical breakdown of the GRE registration process, complete with visual aids, so you can efficiently secure your spot to take the test.
Before you jump into the registration, it’s vital to conduct a little preliminary research. The GRE is not just a test; it’s an investment in your future. What’s your ideal score? Which programs are you interested in? And most importantly, when are the application deadlines for these programs?
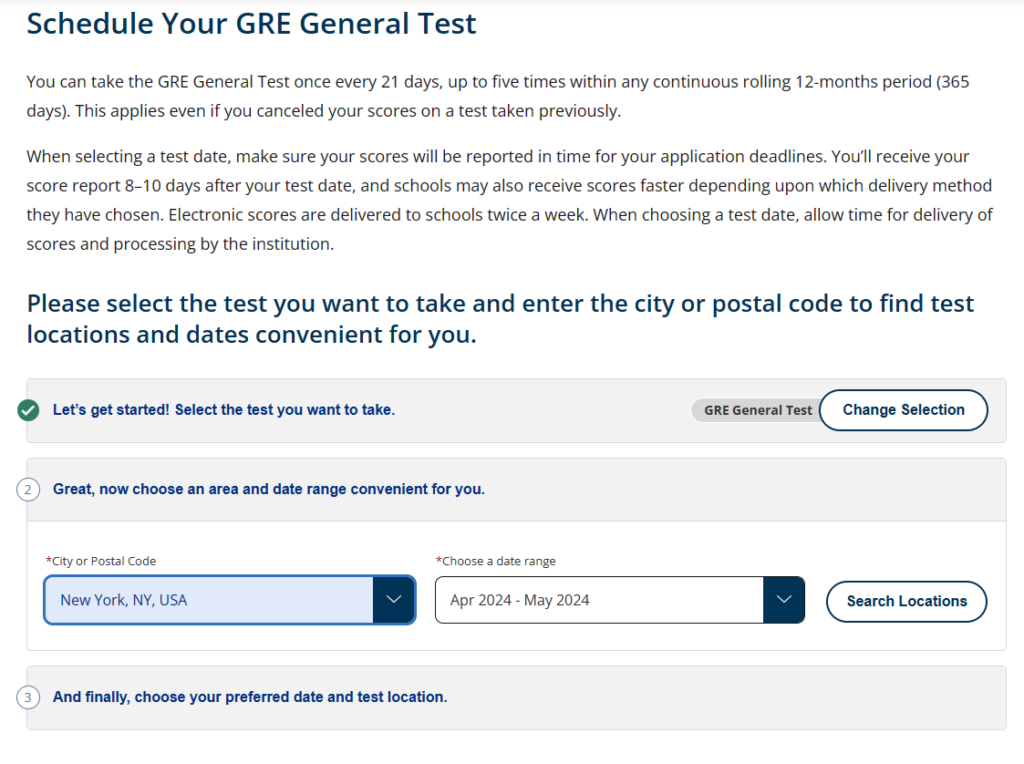
Navigate to the Schedule Your GRE General Test (ets.org) and gather information on test dates, locations, and fees. The website typically hosts up-to-date information on these elements, so it’s a great place to start.

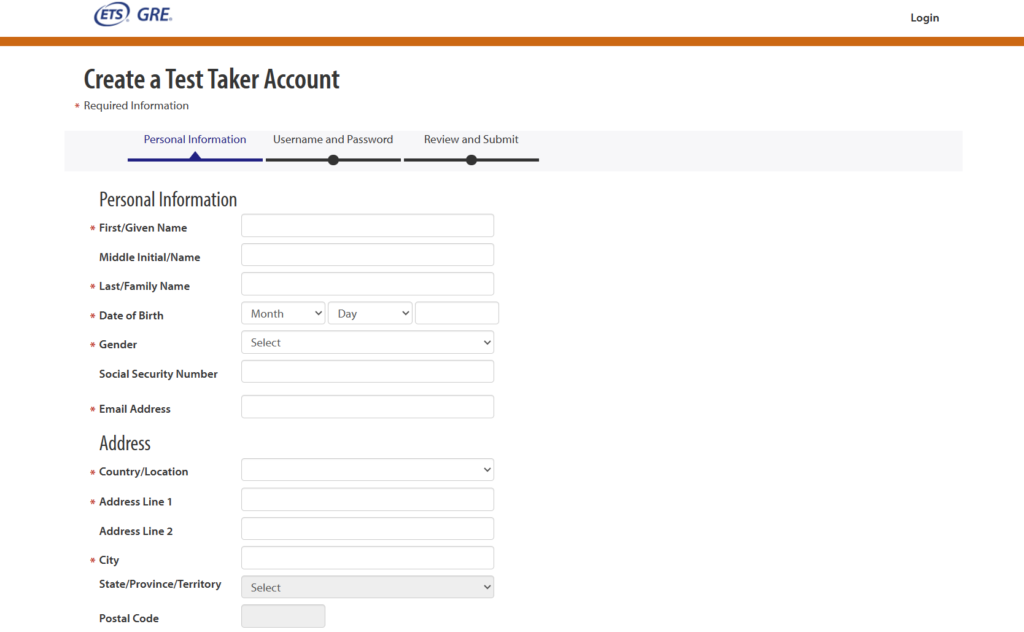
To register for the GRE, you need to have an account with the Educational Testing Service (ETS), the organization that administers the exam. Head to the registration page and click ‘Create an account.’ This will involve entering your personal information, so have your details at hand. Use this link- eReg-Create profile (ets.org) for completing registration.

Once you have an account, log in to access the GRE registration gateway. Your ETS account is your portal to all things GRE, including your test scores and registration details. Use this link- Sign In for Test Takers (ets.org) for sign in to your account.

This is one of the most crucial steps. Based on your research in Step 1, select the date and location that work best for you. Ensure you choose a location that is convenient and a date that gives you ample time to prepare.
Once you’ve selected your test date and location, you need to pay the registration fee. Be sure to check the fee for the specific date and location you’ve chosen, as it can vary. The payment process with ETS is secure and straightforward.
Before you click ‘confirm,’ review all the details of your registration. Make sure your name, date, location, and time are all correct. A mistake here could mean having to reschedule, which may incur additional fees.
After confirming, you’ll receive a confirmation email. Save this in a safe place and print a copy, if possible. You’ll need to take this with you on test day to gain entry to the test center.
ETS offers additional resources that may be beneficial for you. This includes study materials, practice tests, and even a hotline for test takers. To excel in the GRE, it’s not just about the test day, but the preparation leading up to it. Here, you will find out all kinds of GRE official resources- GRE Advisor Toolkit (ets.org).
By following this detailed step-by-step guide, you’ve successfully navigated the GRE registration process. Now, it’s time to buckle down and study. With focused preparation and a clear understanding of what to expect, you’re well on your way to achieving your desired score. Usually, 4 months are enough for GRE exams. You can read our article how to prepare yourself within 4 months for GRE exam. After preparing yourself for GRE exams, you will get one step closer to your academic and professional goals. Good luck!
Bornomala The BD – Your one-stop destination for high-quality learning resources. Explore courses, tutorials, and tools tailored to students, educators, and lifelong learners. Empowering you to achieve your goals with accessible and engaging content.


Copyright 2024 Academic Broadcasting Platform powered by Academic Broadcasting Platform